
 CYC Photon Gen2
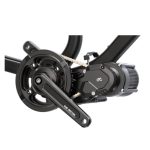 CYC X1 Pro Gen4
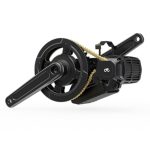 CYC X1 Stealth Gen3
 Bafang BBSHD
 E-Bike motors BESTSELLER

Basically, the smaller the chainring, the easier it is to pedal uphill (which is also better for the motor). The larger the chainring, the easier it is to pedal on the flat (at higher speeds). However, the resulting chainline is a decisive factor when choosing the right chainring!
What is the chain line?
The chain line determines how straight or at an angle the bicycle chain runs between the front chainring and the rear sprocket. The perfect chainline is achieved when the chain between the front chainring and the rear middle sprocket runs in a straight line and parallel to the frame. This means that all rear gears can be shifted, chain wear is minimized and the greatest possible efficiency is achieved. This is usually the case with bicycles when the chain is in the middle at the front and rear – i.e. in the middle of the cassette at the rear and in the middle chainring at the front, for example, if the bike has 3 chainrings at the front.
How can I achieve the optimum chainline after the conversion?
Very simple: The position of the teeth of the front chainring, i.e. the distance to the bottom bracket end, should be the same after the conversion as before the conversion. To do this, the front center must be determined. You can see how to do this in the following video:
Which chainring should I choose?
With the new chainring, you should achieve the offset just determined after the conversion – this will then lead to the perfect chain line. To determine this, we have created a printable template in A4 format – separately for the BBS01/02 and BBSHD engine:

This template shows the Bafang motor in plan view on a scale of 1:1. There is a scale at the bottom right – so when printing, make sure that the template is printed in the original scale. All chainrings are attached at the “start” line. The horizontal lines represent the teeth (offset) of the chainrings labeled next to them. The length of these lines corresponds to the outer diameter of the chainrings.
If you have the opportunity to dismantle the bottom bracket of your bike, then this template can be used very accurately. Simply cut them out and place the “axle” in the bottom bracket.
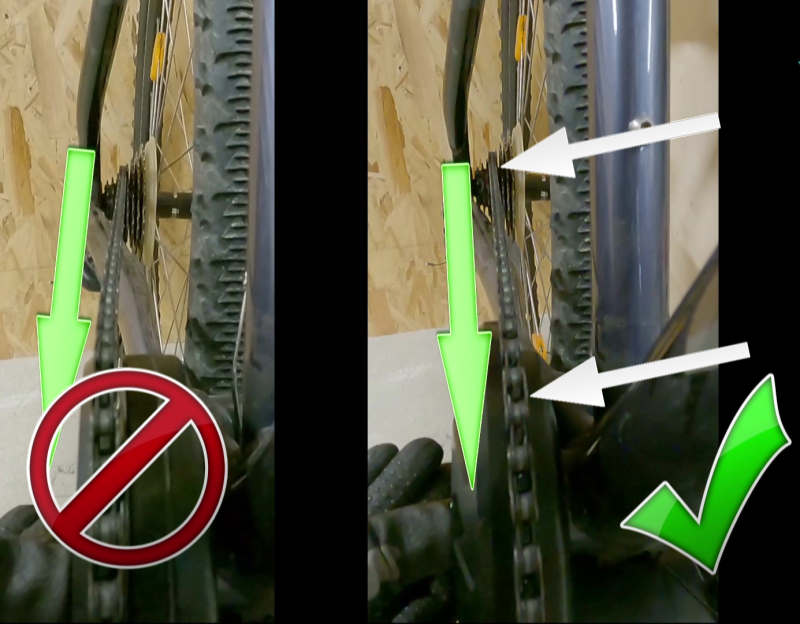
This template can be used to determine the appropriate chainring offset on the one hand and the possible need for spacers (spacer rings) on the other. Because: Neither the chainring nor the motor housing (both visible on the left-hand side of the picture) must touch the bicycle swingarm / chain stay (a few millimeters distance is sufficient). If you can place the template in the bottom bracket, you can now see whether the motor housing and/or the teeth of the chainring are touching the swingarm. If the housing touches them, then bottom bracket spacers should be used. These are available in 2 mm and 5 mm thickness and can also be combined as required. If the chainring touches the swingarm, we recommend the use of chainring spacers (available separately for BBS01/02 and BBSHD) with a thickness of 2 mm. If more than 1 spacer is used, longer chainring bolts should also be used. It should also be noted that the use of spacers affects the chain line (outward shifting).
As the motor housing of the Bafang mid-motor (behind the chainring) has a diameter of approx. 140 mm, only chainrings with a larger diameter can have an inward offset. The smallest chainring with inward offset is the 40T from Lekkie. The most commonly used chainrings are the 42T from Lekkie and the 46T from Bafang. Both lead to a good chainline on many bikes and have a fairly good gear ratio for uphill riding as well as riding on flat terrain.
I hope we have been able to shed some light on this very important topic in this article. If you have any questions, just leave us a comment.